While audiorant a slight lull and announced a lot of novelties just getting ready to leave, I come back to his hobby in the face of cheap Chinese quadcopters, today we will focus on the slightly more expensive Quad with GPS and other “grown-up Goodies”, X183GPS.
In the comments to my last review was a little discussion of “why waste your time on cheap Chinese Quad, if you really get pleasure from top models?”. If we draw a parallel with the headphones, we can say that in any hobby it is important not to substitute the essence of the infinite enumeration of technical means. In other words, the main thing is to enjoy the music, and if without the expensive setup cost a few thousand dollars there is no fun, then there is the audiophile. Returning to inexpensive quadcopters, the most important is the pleasure from the flight, and nothing else. Of course, for professional photo and video shooting, you need the appropriate equipment, but to buy something expensive just so I do not see the slightest sense. Even with headphones I whenever possible I advise you to avoid unnecessary spending without understanding what you want to achieve. There are many moderate price solutions that will give a lot of positive emotions from the music. It is finding the same solutions in the world of quadcopters I do in my reviews.
Summary of the previous series. Having tasted the pleasure of the first flight with VISUO XS809W (by the way, judging by the reviews, this affordable quadrics has become very popular), I switched to the solution with the height sensor in the face HC629 WISDOM. I will not repeat the conclusions of these articles if you are interested — you can go on the links.
Today I have a review of a more respectable animal received index X183GPS and much more grown-up price tag of $ 150. As usual, the producers tried to stuff his functions, however, not all of them turned out perfectly (which is not surprising given the price), but very much I personally liked.

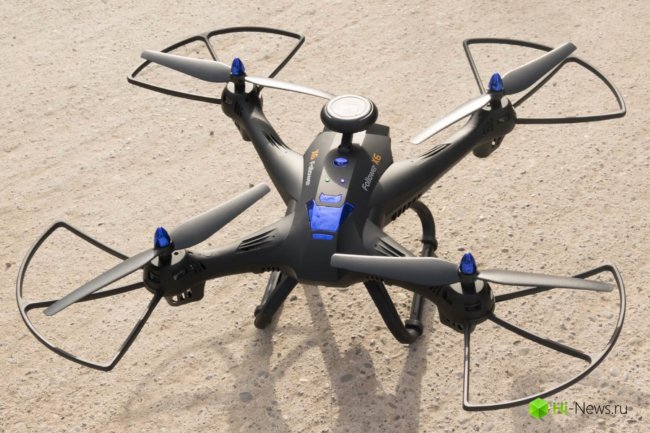
What we are dealing with a much more solid device, gives to even understand the box itself, “X, one hundred and eighty third” — clumsy solution, assembled with swing beams almost 50 centimeters, so it comes in a solid cardboard box with plenty of foam inside. In addition to the copter, the set includes:
- propellers
- protection
- “legs”
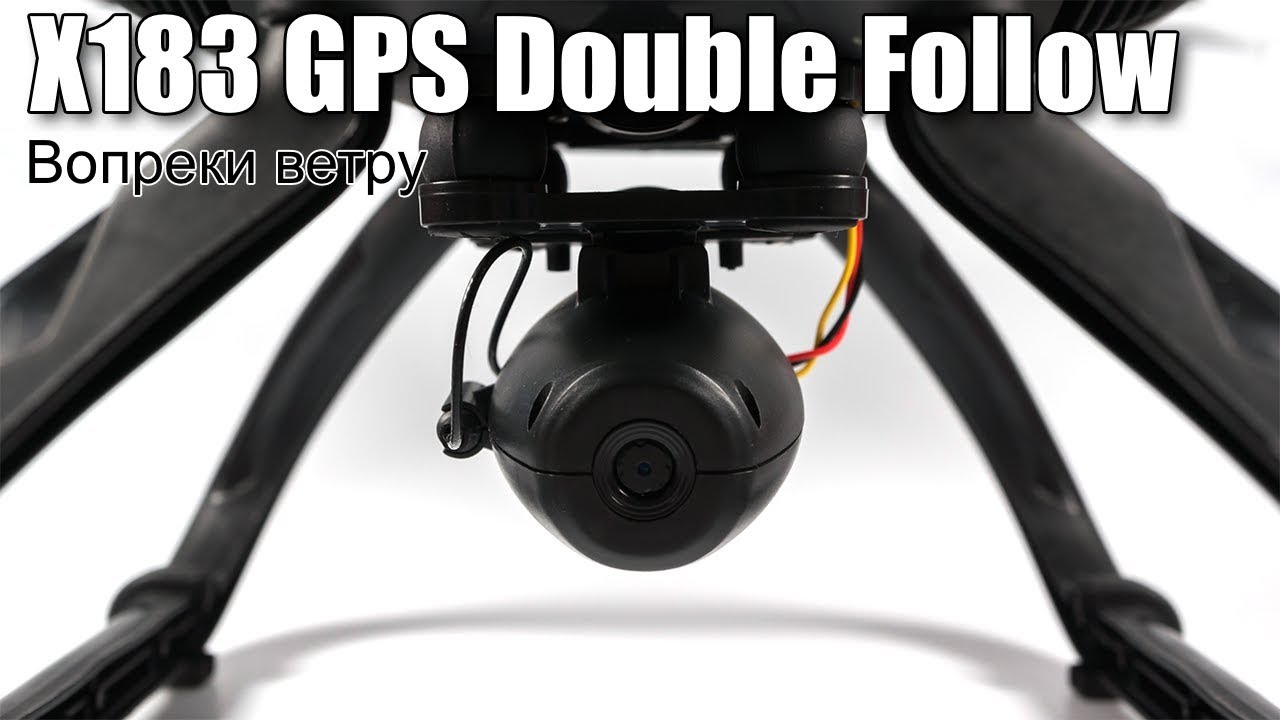
- camera
- remote
- screen FPV
- mount for screen
- fasteners for screws and other parts
- screwdriver
- two charge leads for the battery, quadcopter and screen
- battery
- MicroSD card 4 Gb and a card reader for it
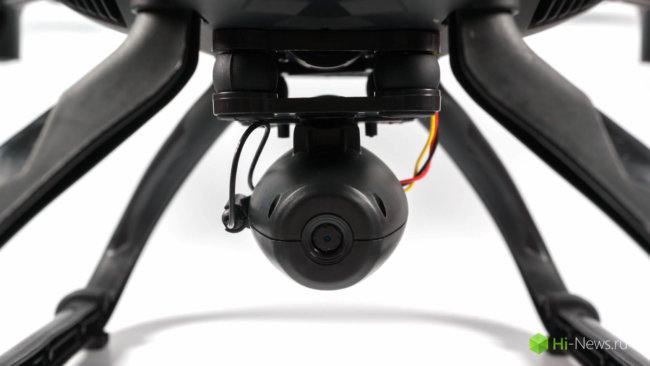
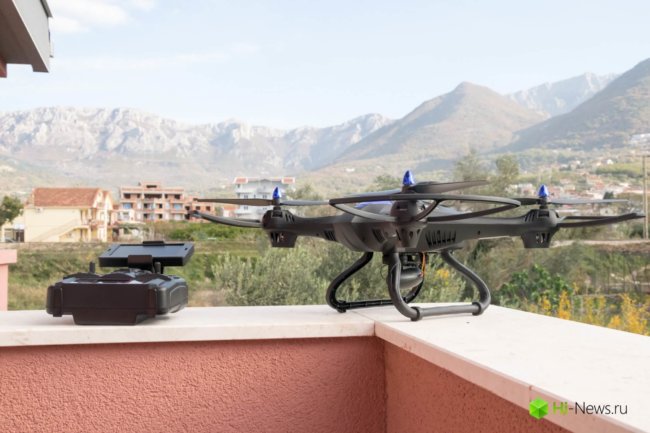
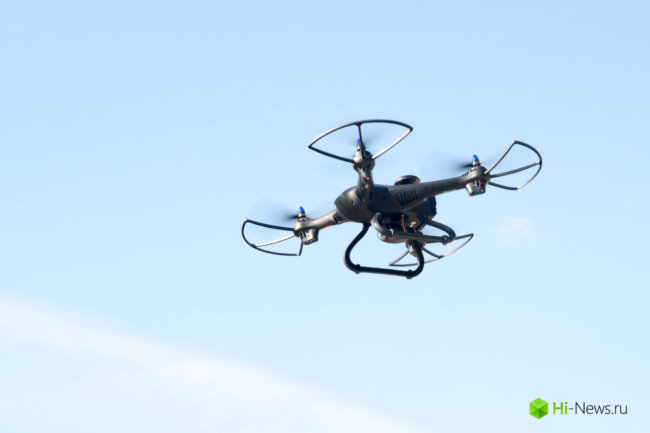
The car looks solid enough, the developers of “stuffed” its technology on most do not play, there is 720p camera FPV transmitter and GPS with interesting functions “follow me”, and “orbit” (about them below) and cool looking remote, and even a separate screen for observations with FPV camera. The only thing saved here is the motors, they are manifold, so that the useful life is limited, fortunately, to purchase spare — no problem, I just took a few in reserve, but not sure that they ever come to that case, the resource staff albeit limited, but not too small.
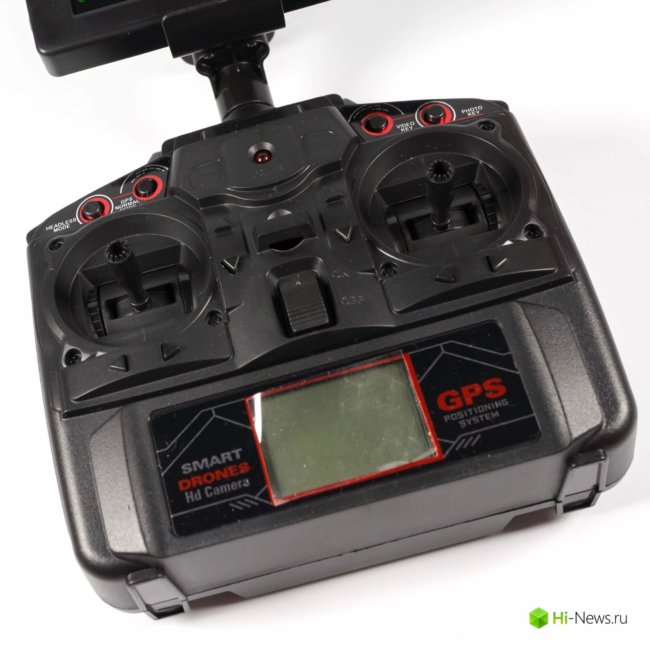
For a start, a little about the remote. He’s bigger than my previous toys and the bottom is equipped with a small LCD screen that displays many different degrees of utility of information: the number of satellites that are visible to the GPS, altitude and distance to the UAV, its position and more. The icons are clear enough, so specifying them makes no sense. With sticks all is also quite obviously left controls the altitude and rotation, right — movement in the horizontal plane. There are long sticks, with a good reserve, so using them is a pleasure. Two triangular buttons under the left thumb stick to enable or disable the mode “follow me”, the same two buttons under the right include the mode of “orbit”. The buttons on the right from the left stick responsible for automatic takeoff and landing (you can guess which one is for what). Two round buttons on top of the left stick is used for switching “headless” mode and turn off GPS. In the latter case the kopter will only use the height gauge for everything else you have to answer yourself. Buttons above the right stick is designed for photo and video. Top button on the left side switches the speed of flight, on the right side — the return “home”, but it is also below.
Area of reliable control is about 450 meters in an open area, the range of your FPV screen — around 400, its stability depends on the presence of RF interference sources in the surrounding area. By the way, about the screen, it is clearly not shock you resolution and depth of color, but still, even this solution is much better than nothing. For the first trial itself, in the “genre” FPV it is more than suitable.
As we device a “higher class”, and to Tinker with it will have a little more, bringing quadric in the “ready” state takes 20 minutes or more.
The first thing I did is looked at the manual, it is quite detailed, but the English translation sometimes a bit limp, but, thanks to the pictures, you can understand.
I started with mounting the propellers. Please note that they are divided into A and b, and fastened to the beams, they should be in accordance with the signatures on the case. The bracket itself is quite simple, you just have to be neat and not to the weight of the table with good lighting will just be the perfect choice. Put on the appropriate propeller on the axis, the top plastic sleeve of the striker. Turn the retainer so the cut was exactly opposite the hole in the axis of the engine, insert the pin and, while holding the screw, turn the lock 90° to the pin engage in the notches of the retainer. After that you just have with a little effort to put on the protective cap.
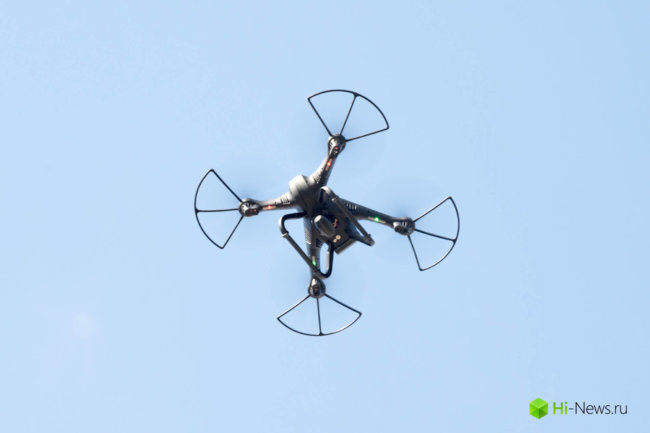
The next step I put protection, everything is also easy, but requires care. Take out the plastic plugs that are inserted bumpers, then screwed two screws for fixation. I told that to build this flyer will be very useful Pogranichnaya good screwdriver? No? Well said. To get small screws into holes recessed in the housing, — the task is not entirely trivial (although solvable, even with supplied screwdriver). Just 8 screws and the protection is in place. Yes, these arc clearly slightly degrade the performance of the quadcopter, but if you are not a Pro — I recommend them be sure to put the screws there great engines — powerful enough, so in the event of an accident would be unpleasant.
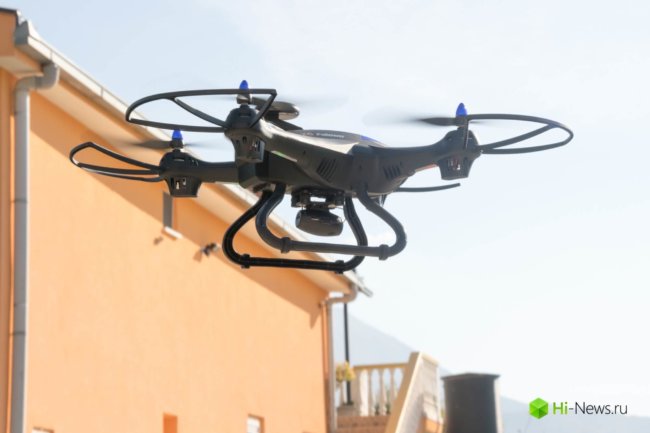
Next step I advise you to put the camera, that’s the hardest part, requiring considerable accuracy. Complete the camera directly attached to a special mounting of the two squares with rubber inserts between them, designed to absorb vibrations, the solution is not ideal, but quite working. To get started you just need to hook the protrusion on the fixing frame camera for the notch on the housing. Comes the hard part, take the small screw from the kit, a screwdriver, the maximum sliding the top box mount the camera in the direction relative to the bottom and carefully, not the first attempt to tighten the screw, locking the camera. Then, with a sigh and wiped the sweat from his forehead, repeat it again with the hole on the other side. It’s not easy, but possible even for the owner of the hands with the curvature of the third degree (I mean explicit proof). After relaxing can insert into the camera a complete card, it is simply inserted into the rear groove until it clicks. The last step is to connect the camera wire to the connector on the housing.
After “chamber” suffering the last step in the face of the installation “legs” is not the problem, gently insert them into the grooves and fix each one cog (the developers do not even have to do mount from both sides, rightly decided, that they will not get anywhere). All X183 assembled.
Continue preparations for the first flight: rechargeable battery screen, it uses a yellow wire with a thin connector at the end, insert it and connect to any power source with USB connector (I’m very glad that at the time I bought the extension cable from Xiaomi, equipped with three ports for charging) and wait until the light comes on. Rechargeable battery quadcopter (also connected to its charging cord included in the USB and wait until the LEDs stop blinking). Charges the battery for a long time, somewhere around three hours, and discharged quickly (five minutes), so I suggest to attend to spare. After that, insert 4 AA batteries-form-factor remote. Put on the antenna of the remote control top mount FPV screen, hold in the mount paradisica screen. Connect the battery to the wire inside the copter, using a second battery connector, and remove the battery inside, close the lid.
Next — very important step. What is really important. Go out into the street.
Set the quadcopter on the ground, turn it on, plug-in remote that squeak tells us that the connection is established (I have a couple of times the remote when you turn on didn’t see the copter, but it has recovered on/off quadric), the familiar movement bringing the sticks together, the screws begin to rotate, click the button take-off… and nothing happens. Turn on-turn off, try again, same reaction. After 5 attempts and re-reading the instructions, it turns out that, first, it is necessary to give the Quad time to find enough GPS satellites, and secondly, it is necessary to calibrate, helping the orientation sensors and the compass “come to life”.
Calibration of the orientation sensor is very simple: put X183 horizontally, hold the stick of the joystick diagonally (left-left-up-right — right-down) and wait a few seconds. With compass it’s a little complicated, we start all almost the same (left-left-down-right — right-up), then have the copter rotate first 3 times around its axis in a clockwise direction, and then another 3 times to turn it, holding the nose down. At each stage of quadrics will be prompt to move to the next step of blinking LEDs.
Performing these calibration operations, X183 leave alone until it does not find enough satellites (usually 20 seconds in an open area), indicates the termination of a blinking of LEDs. Repeat the operation — handles together and down (and down-apart, also work), press button off, and Yes, we are in the air! Well, actually, not we, and the institutions.
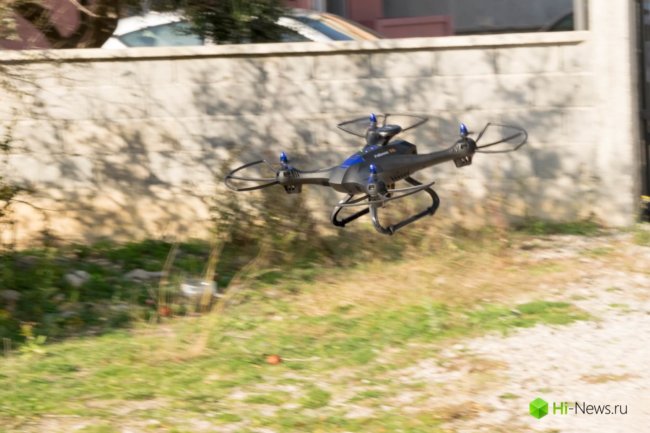
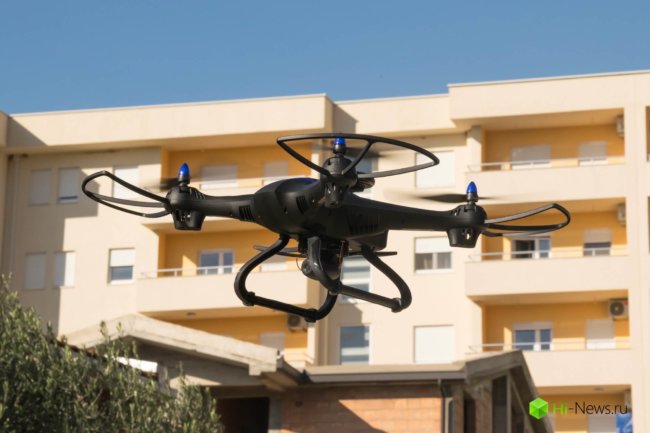
The first thing you immediately notice in the management X183 is massive, he’s not hanging around a single point, like Wisdom, and no picks in the space, trying to hit at least something like VISUO here, though not perfect, but it works well enough and GPS and other sensors, so the drone holds its position. Traditionally autumn weather in Montenegro is most often happy, or rain, or wind (or a combination of both factors), so choose a clear and windless day for experiments, I failed and test flights X183 made in a fairly strong wind. Of course, this is not a typical sea storm, which sometimes enjoy the weather, but the WISDOM in this weather is guaranteed to be the wind blows, even if the maximum hold the joystick forward in an attempt to counter the gusts. The hero of this review showed itself, even if not perfect, but much better — small “yaw” on the site under the influence of wind, he admits, but as soon as the demolition is evident compensates for this. Plus played a role here powerful motors and large propellers, able to withstand the elements.
Of course, the ideal of “freezing in place” there will not be even in a complete calm, it is unlikely to expect from a budget model, but overall I was pleased with the stability of this copter. Although it is worth noting that control X183 “duller” than the models without GPS is not of the youngest mountains of the feeling of struggle.
Surprisingly good work the claimed function. Return to home is activated with one button, X183 returned “to base” 5 of 5 once checked. It is unlikely, of course, is to rely on it in 100% of cases, but so far every time this button is task was done. The return zone is about one meter in radius, relative to the point of takeoff. By the way, note that to return the quadcopter will by close to the shortest (or at least not those that flew), to avoid obstacles on the way, he will not, so on rough terrain, you should be careful.
Modes “follow me” and “Orbita” also work very well, the main thing is to fly at least 10 m to the side. After activating these functions, the copter rotates the camera to the console and follow him or he starts to circle around the console on the large arc. Here, by the way, it is also worth considering that barriers X183 sees.
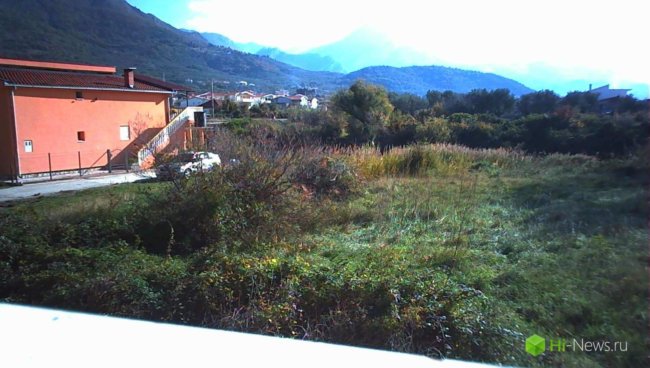
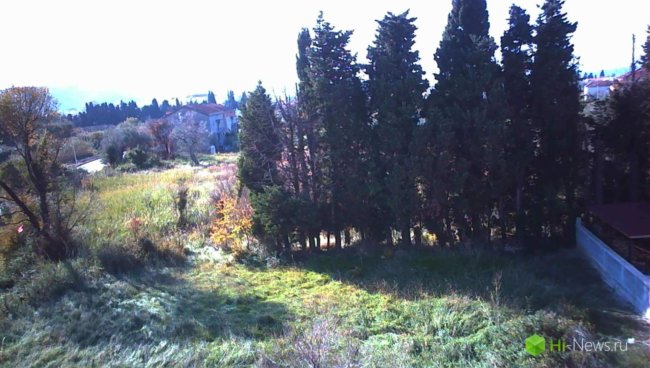
As for photos and video, everything is relative to budget, of course, that is 0.3 megapixels in WISDOM, but to a serious solution of the complete camera is still far away. It is more suitable for FPV, but to indulge in photos and videos is still possible. The photo and video quality can be estimated on the attached photos and video (after some discount on the wind). However, if someone wants to do more serious aerial photography, this quadcopter can safely attach and a better camera, and better stabilizing the suspension.


Overall, despite some shortcomings (brushless motors, battery), X183 me, as a layman, I liked it. He is good in the air, happy well-implemented features, tracking, comes with a handy remote control and FPV screen in the kit. If desired, it can be equipped with more high-end camera gimbal or use with FPV glasses. However, this model still does not punch a gaping hole in your budget, which for me is the main criterion.
Buy X183
Overview of X183GPS quadcopter GPS Drone Follow Double
Pavel Dmitriev