Frågor och Svar
Du vill visa dina bilder från att imponera. Här är sättet att göra det! Försök att med hjälp av Design Studio från Photobie[1].
Annons
Steg
-

1Edit steg 1
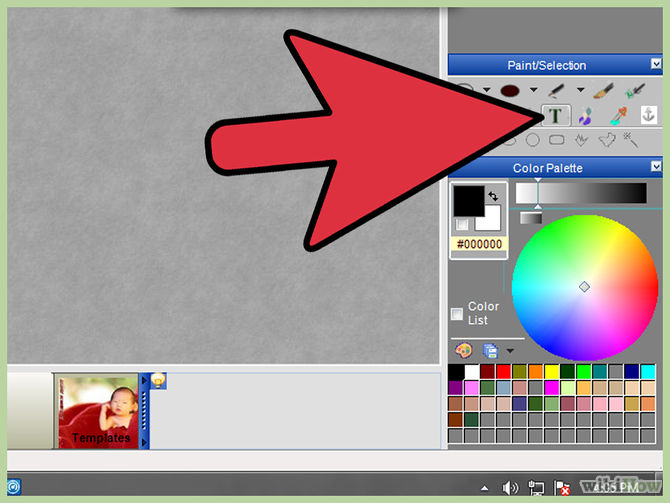
Om du vill lägga till, till exempel text, klicka på textverktyget och klickar på din bild, ge det en andra till last och skriv sedan in din text.Annons
-

2Edit steg 2
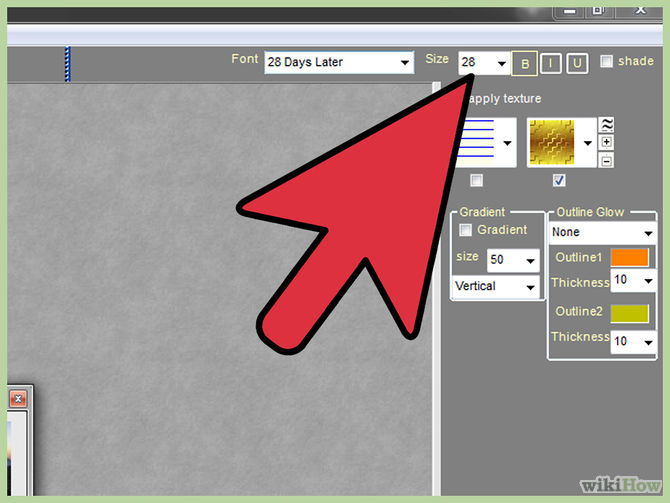
I den övre menyn väljer du teckensnitt, storlek och andra alternativ. -

3Edit steg 3
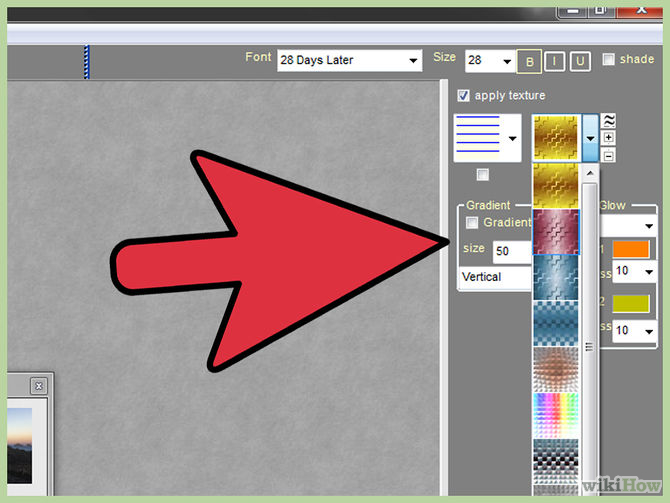
Välj om du vill ha struktur, toning eller färg. -

4Edit steg 4
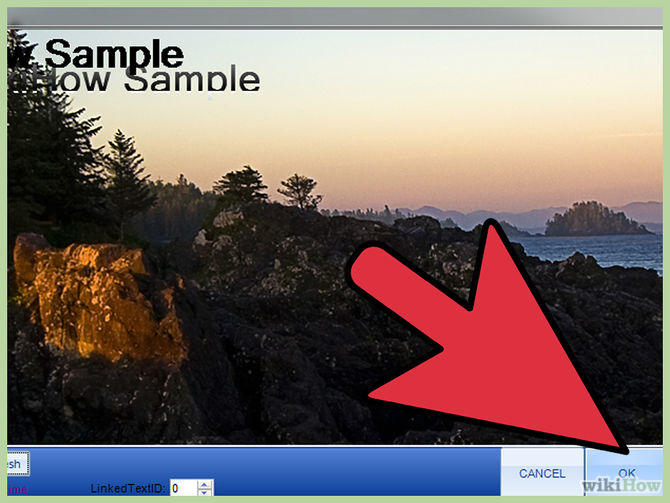
Klicka på ” OK ” och sedan använda Handen ‘flytta ändra storlek på verktyg” för att placera texten där du vill ha den. -

5
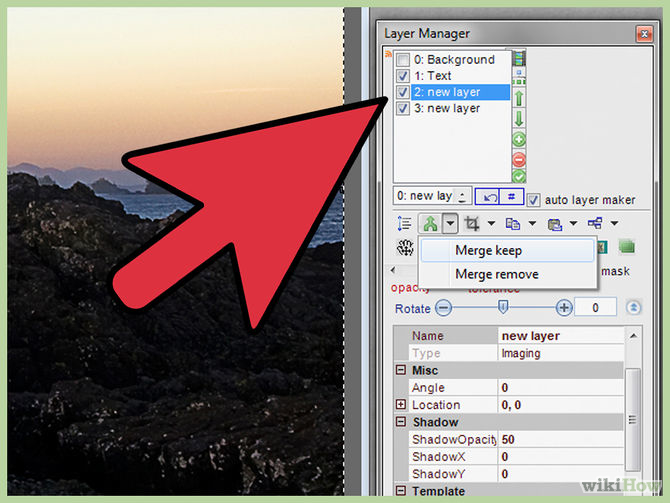
Det är en bra idé att dubbelklicka och sätta markeringar på din “klippbok” lager och varje nytt lager som du lägger till och sedan använda ‘Merge – Koppla bort’ verktyg på lager manager som du går. Om du har en massa på lager när du spara som .pob-fil kan det bli ganska stora. Å andra sidan, om du vill att folk ska kunna flytta dessa nya lager som du har gjort, låt dem vara.- Var noga med att INTE koppla den bakgrunden lager eller mallen lager.
-

6
Lägga till vad du vill göra detta “klippbok” lager ser bra ut på samma sätt som du lagt till texten. Klicka på ett verktyg, ställa kontrollerna, och använda din mus för att lägga till utsmyckningar. -

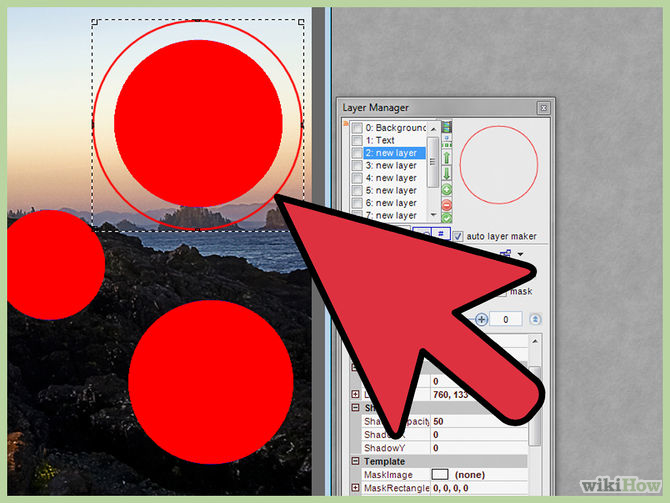
7Edit step7
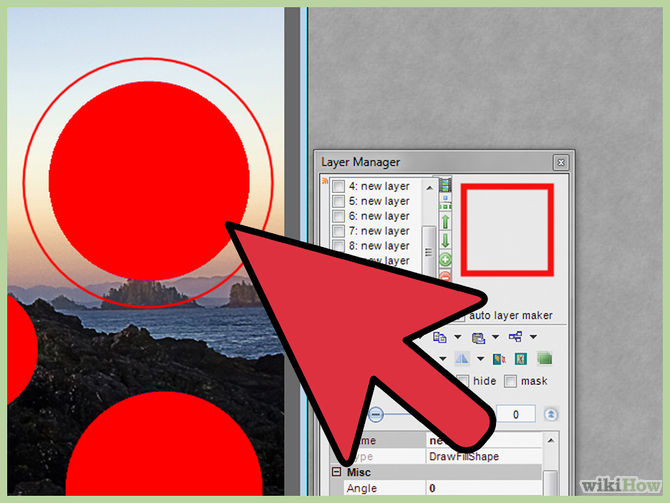
Till exempel, låt oss lägga till ett par ramar runt circle och square för att göra mallen lagret stå ut lite. Kom ihåg att det kommer att bli ett foto i stället för mallen lager senare. -

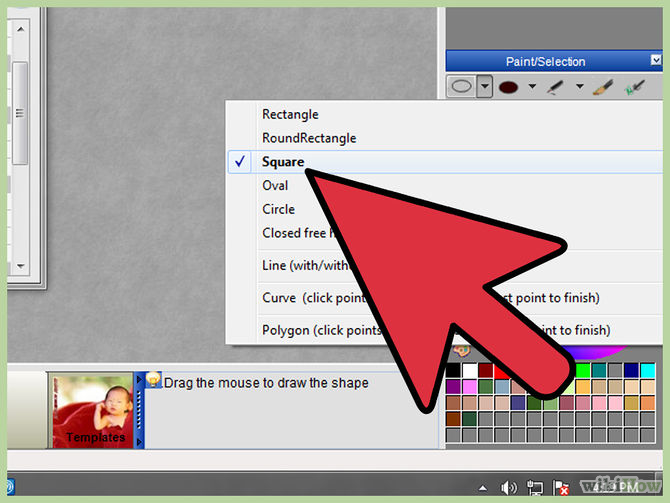
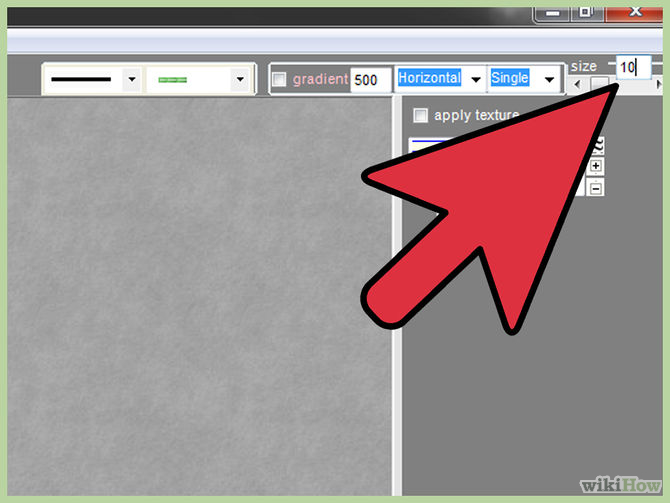
8
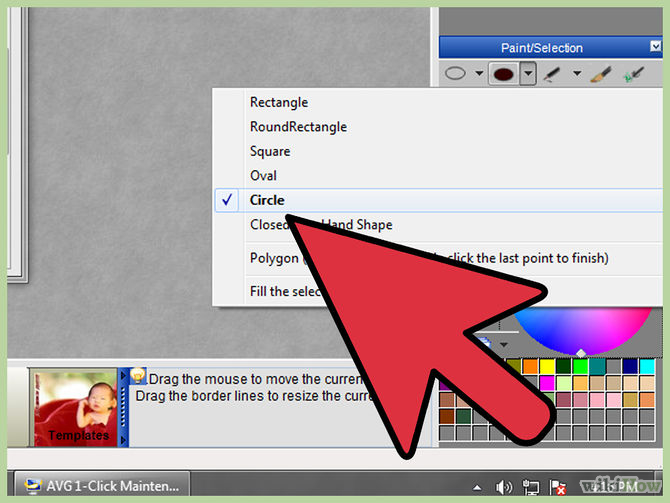
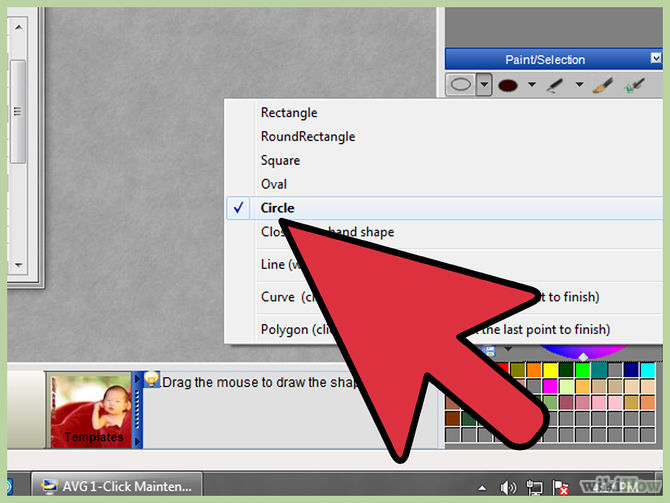
Klicka på den lilla triangeln bredvid “Rita former verktyg” och välj “cirkel”.- Igen nu, du har en massa val om vad du vill använda som ram, texturer, gradienter, etc. men här är den primära färgen kommer att vara inställd till vitt och storlek till 10.
-

9Edit step9
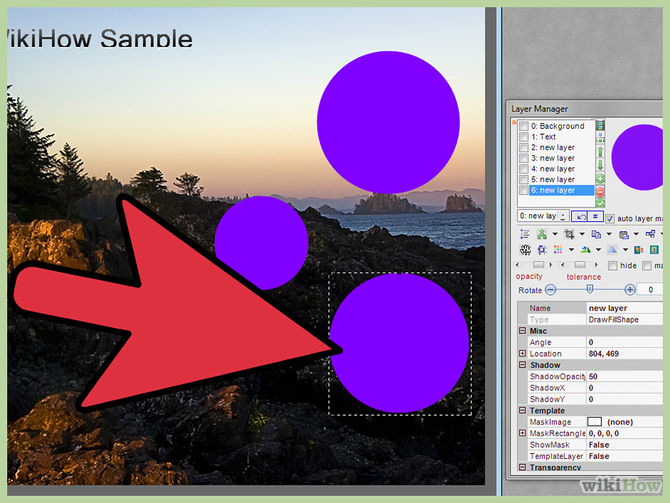
Dra ut din cirkel ram runt den röda “photo1” mall lager. -

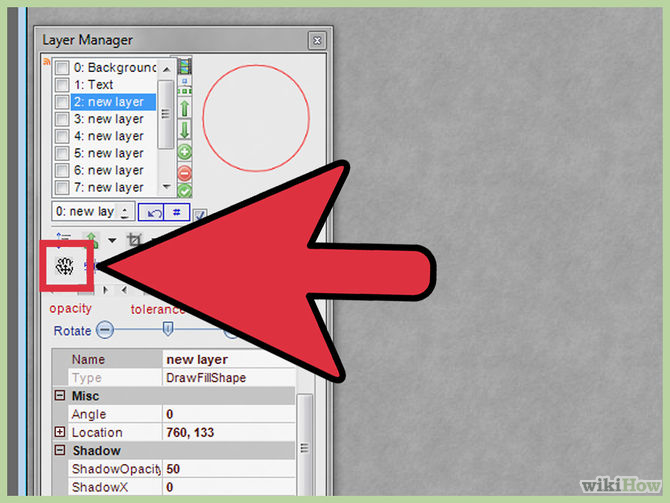
10Edit step10
Använd Sidan ‘ändra storlek på move tool’ för att göra det i rätt storlek och på rätt plats för att täcka lite av både det röda och det blå området på lager. -

11
Gör samma sak för att göra en fyrkantig ram. -

12
Den här gången, välja, att “Dra shape tool’ – ‘square’ – storlek 10.- Nu bör du ha ett par fina ramar runt din mall lager.
- När du är klar med alla dina utsmyckningar är det dags för att gå till den översta menyn “Arkiv” och “Spara som”.
-


13
Gå till den katalog du vill spara den och se till att spara det med .pob file extension. detta gör att du eller andra kan öppna den i Photobie när du vill och antingen ändra på saker och ting eller bara lägga till bilder till din mall lager.- Nu när du eller någon annan öppnar den här Photobie fil med mallen lager kommer det att bli lätt att bara byta ut den röda cirkeln och kvadraten lager med ett foto.
-

14Edit step14
Byt circle mall lager med en av dina egna foton för lite träning. -

15
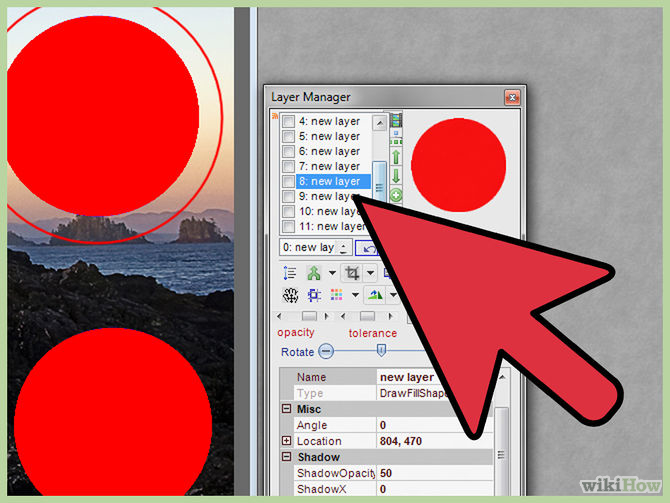
I lagret manager klicka på din “@1:photo1 layer”. Detta är din cirkel formad mall lager. -

16
Klicka sedan på “Klicka för att ersätta” – knappen.- Detta kommer att ta upp den “Mall byta panel’.
-


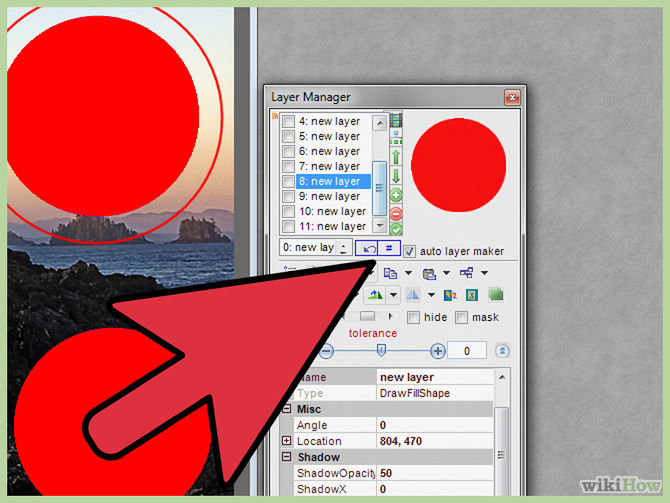
17
Klicka på “Ladda Bild” för att bläddra på din dator och hitta den bild som du skulle vilja se på plats av cirkeln mall lager.- När du hittar din bild och klicka på ‘öppna’ – du kommer att se det i den Mall byta panelen.
-

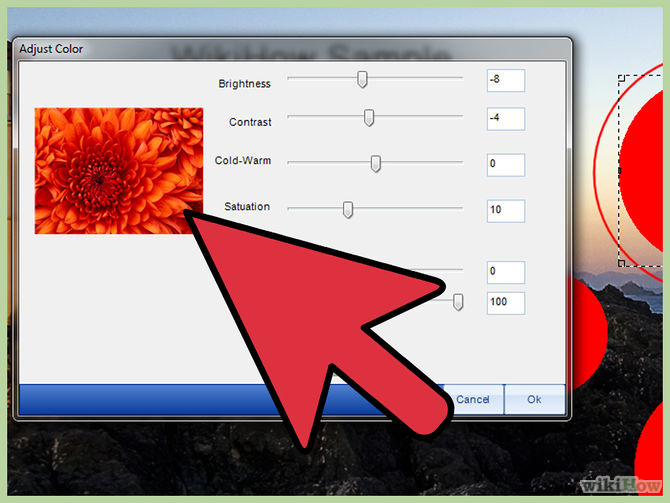
18Edit step18
Justera din bild lite för att passa eller se hur du vill ha det till i utrymmet. (Titta på den svarta kanter för att bedöma storlek och placering.) -

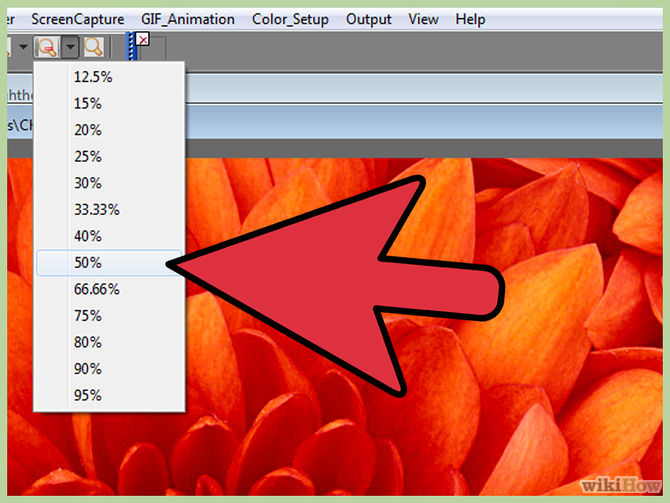
19Edit step19
Använd zoom kontrollen ( + eller – ) och klicka direkt på bilden och flytta den till platsen. -

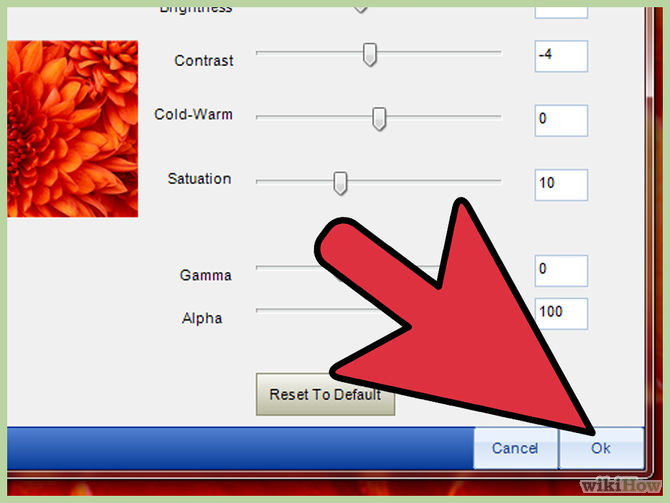
20Edit step20
När du är nöjd med hur det ser ut, klicka på OK. -

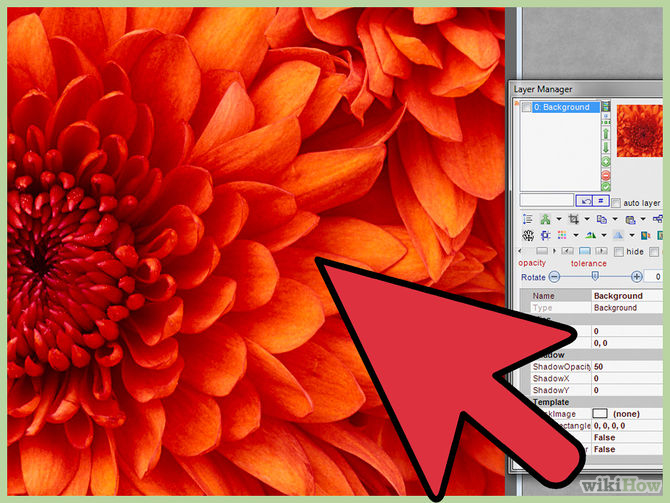
21
Du bör nu se din bild där den röda cirkeln mall-lagret används för att vara.Annons


