Two Parts:Setting Up Your AccountSetting Up Specific PaymentsCommunity Q&A
Automated Clearing House (ACH) payments move money electronically from one bank account to another. Setting up your business to accept ACH payments gives you an alternative to credit cards, cash or checks. Because the payments are not as easily reversed as credit cards, the transfers come with fees much lower than those for a credit card transaction. However, the transaction takes longer than regular debit or credit purchases, so it is only recommended for regular transfers.
Steps
Part 1
Setting Up Your Account
-

1
Decide if you need ACH. Automated Clearing House is a payment method that provides for easy money transfer using computer networks. The minimal or nonexistent transaction fees make it useful for regular transfers. However, because of the effort involved in setting up ACH payments, it isn’t as useful if you do a lot of one-time transactions. Ask your bank if ACH is an appropriate payment method for you if you are not sure.
- Examples of transactions that individuals commonly use ACH for are rent or mortgage payments, car payments, and insurance payments.
- Examples of ways businesses might use ACH are depositing employee paychecks and paying regular bills, like rent or insurance.[1]
-

2
Talk to your bank about merchant services companies. These are the companies that set up ACH payments. It’s a good idea to start with your current bank when beginning your search for a merchant services ACH provider. Working with your existing bank will be simpler, and you may get better treatment because you’re a long-term customer.[2]
- As with any other services for your business, you should get quotes or estimates from 3 or 4 different merchant services providers.
- Your bank may have a similar program to ACH payments, such as direct deposit. Find out their rates and compare the total cost with that of specialized payment companies.
-

3
Fill out the necessary paperwork. You will have some forms to sign before you can start using ACH. It is possible that the paperwork could be done entirely online. This paperwork will set up your bank account to receive ACH payments.
-

4
Read the ACH payment setup forms. Your merchant services provider will give you these as part of your welcome package. They may be paper, electronic or both. They will show you how their specific system works.


Part 2
Setting Up Specific Payments
-

1
Fill out a payment setup form. If you are receiving the money, fill it out for a client who wants to pay by ACH. Although forms vary, most need the account number and routing number of the bank account from which you will make an ACH payment. You will also need to include the amount and date of the payment.
-

2
Review the form with the other party. If you are setting up ACH to make or accept regular payments from another party or business, check in with them. You may need an authorizing signature. You should at least make sure all their information is correct.
-

3
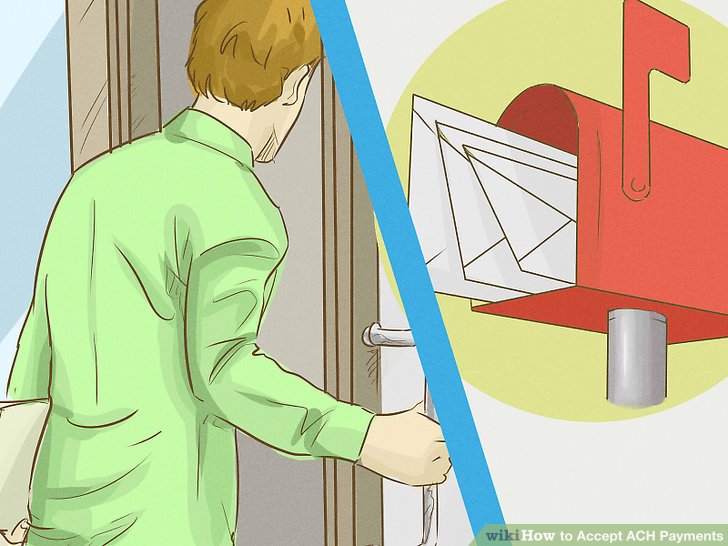
Transmit the ACH form to your merchant services provider. Depending on the company, they may want this faxed, mailed or hand-delivered. Some companies will use a web portal for instantaneous electronic transmission. If your ACH provider wants the form mailed or hand-delivered, you should make photocopies of the form for your records.
-

4
Wait for the funds to transfer between bank accounts. This typically takes 4 business days. When you transmit the form, your merchant services provider will verify the information and confirm that funds are in the paying account. This process takes 2 to 3 days. You should receive your funds on the next day.