
Questions and Answers
The following guide can help you access Gmail with certain settings. *Please note that with Thunderbird 3.0, you’ll automatically be configured with IMAP. If you’d like to add additional email accounts with IMAP1 access, please see the instructions below.*
Ad
Steps
-

1
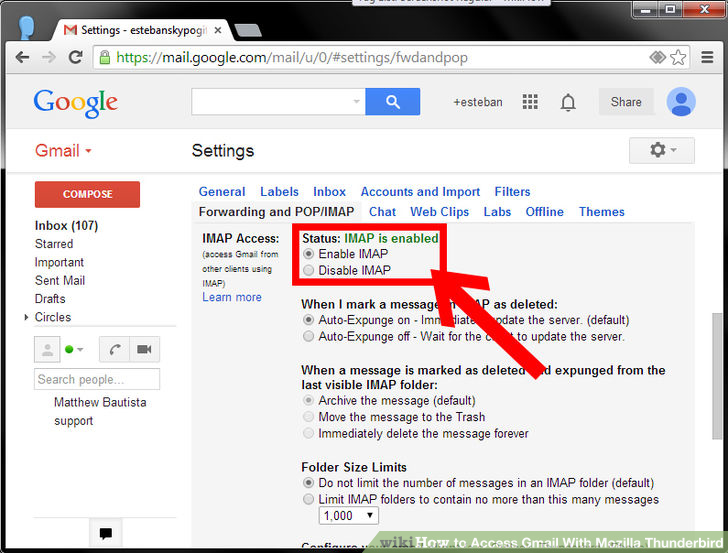
Make sure to Enable IMAP in Gmail and click Save Changes when you’re done. -

2
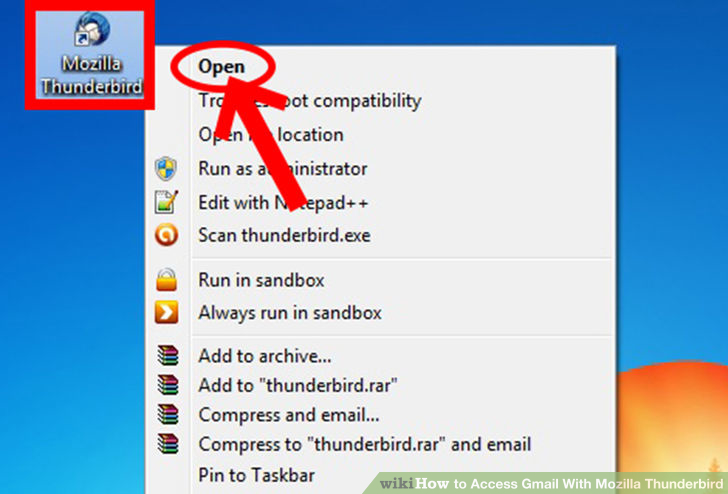
Open Thunderbird. -


3
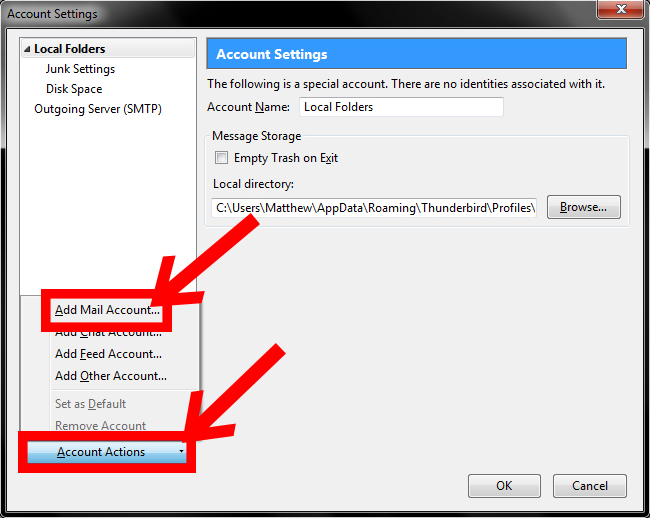
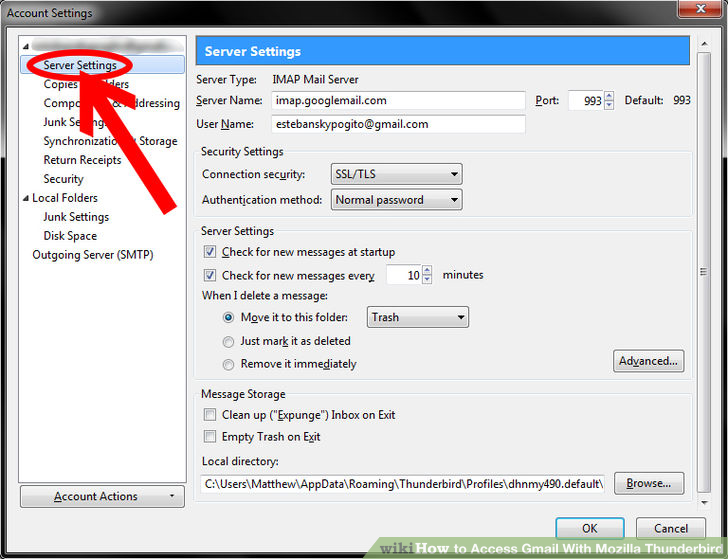
Click the Tools menu, and select Account Settings... -

4
Select Add Mail Account... from the drop-down list located under the account list on the left. -

5
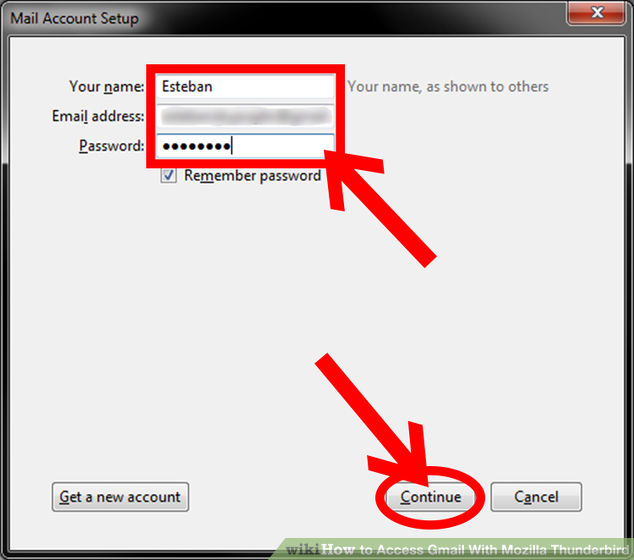
The first dialog in Thunderbird’s Automatic Account Configuration will be displayed. Enter your name, your Gmail email address and your password. Click Continue.- Thunderbird will query the Gmail server2 and automatically configure the appropriate IMAP connection settings for your account. When complete, Thunderbird will show you a confirmation dialog.
-

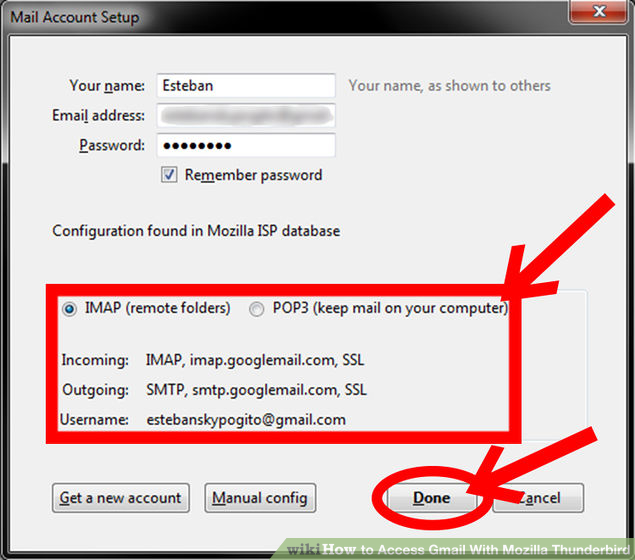
6
Confirm that the connection settings are the same as those shown above and click “Done”. -

7
Check out Google’s recommended client settings, and adjust your client’s settings as needed.


