Questions and Answers
This article demonstrates how to configure the remote desktop client so that you can access local drives from a terminal server session.
Ad
Steps
-

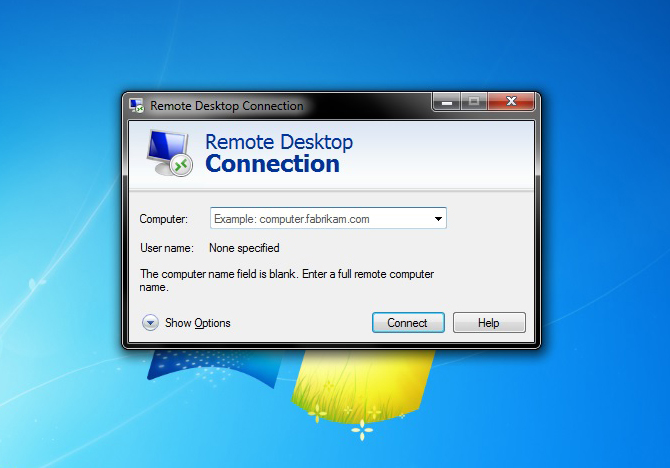
1Edit step1
Open the Remote Desktop Connection.Ad
-

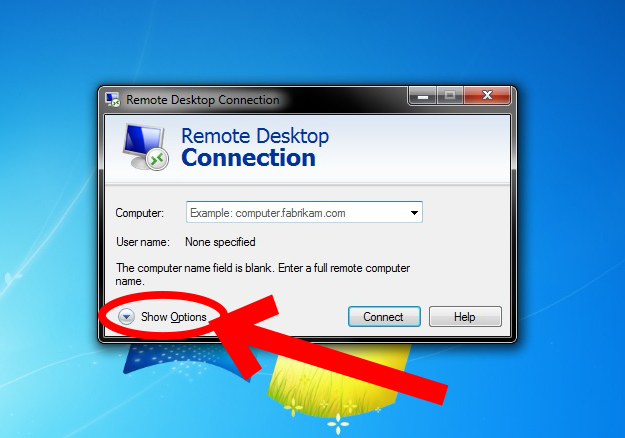
2Edit step2Click on the Options button
-

3Edit step3
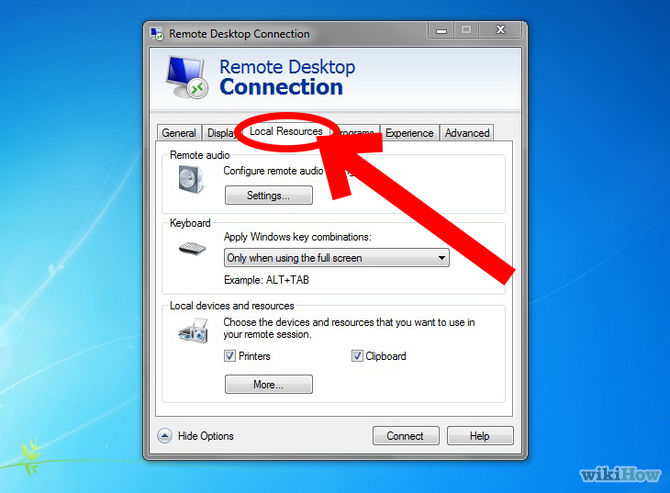
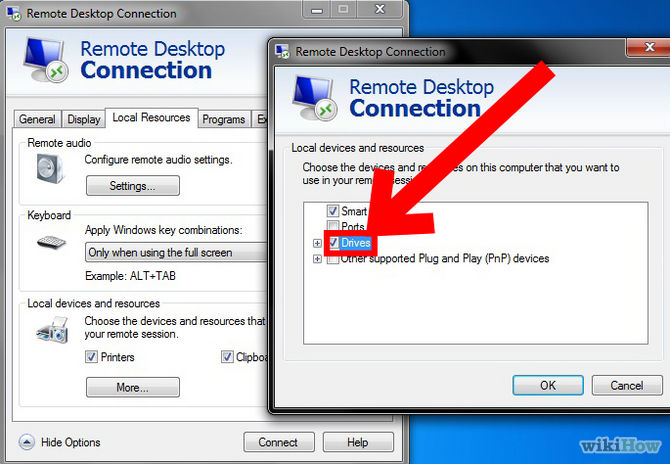
Click on the Local Resources tab. -

4Edit step4
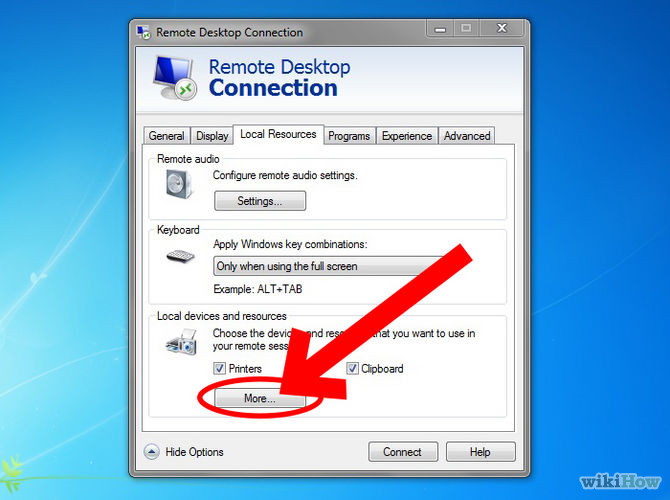
Place a checkmark in the option for “disk drives”. If not, click on More. -

5Edit step5
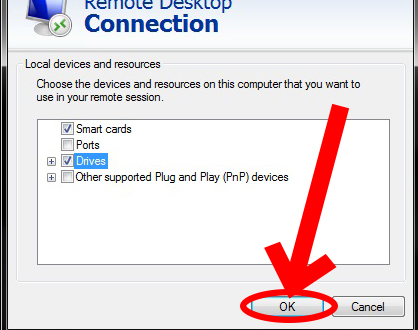
Put a checkmark in the Drives Option. -

6Edit step6
Click OK. -

7Edit step7
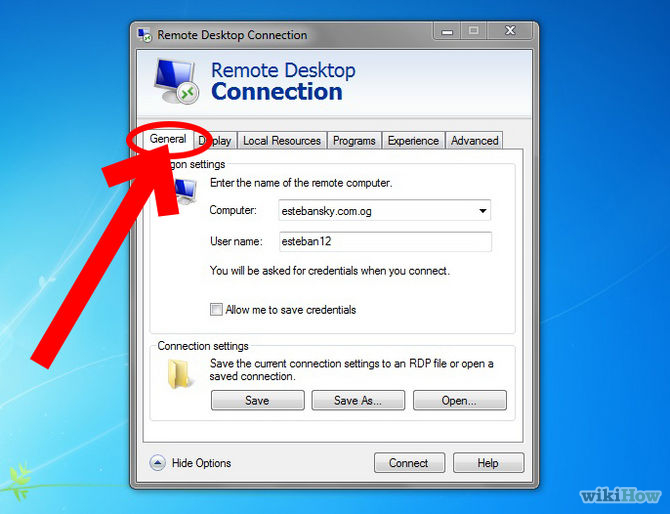
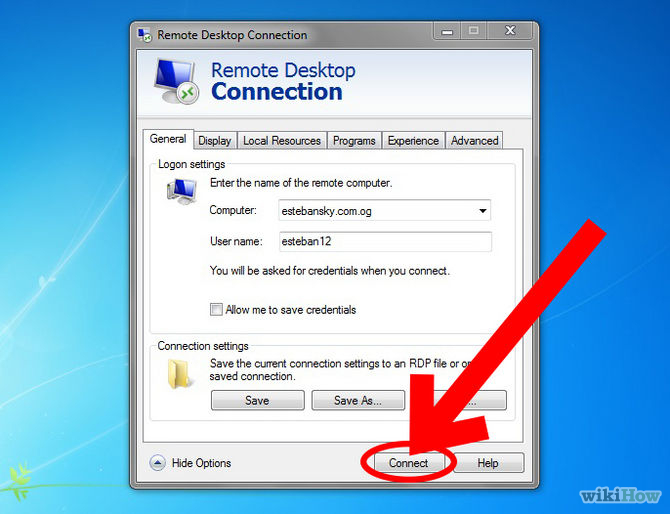
Click on the General tab, enter the name or the IP address of the server you wish to connect to and click on ‘Connect’ to login to the terminal server. -

8Edit step8
Re-login to the terminal server. After logging into the terminal server, the drives on the local computer will be accessible.Ad


